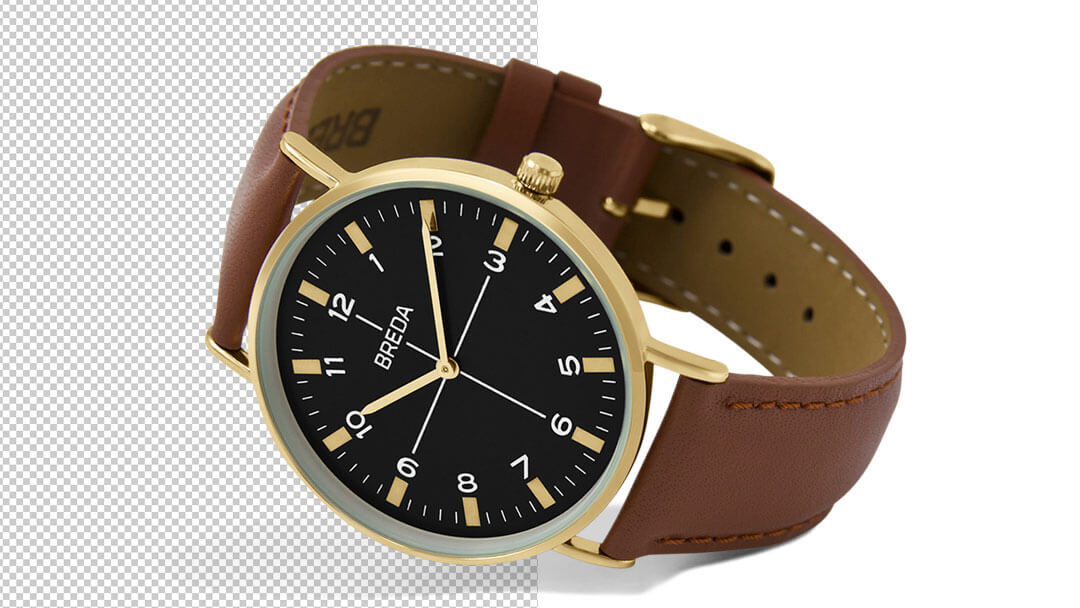
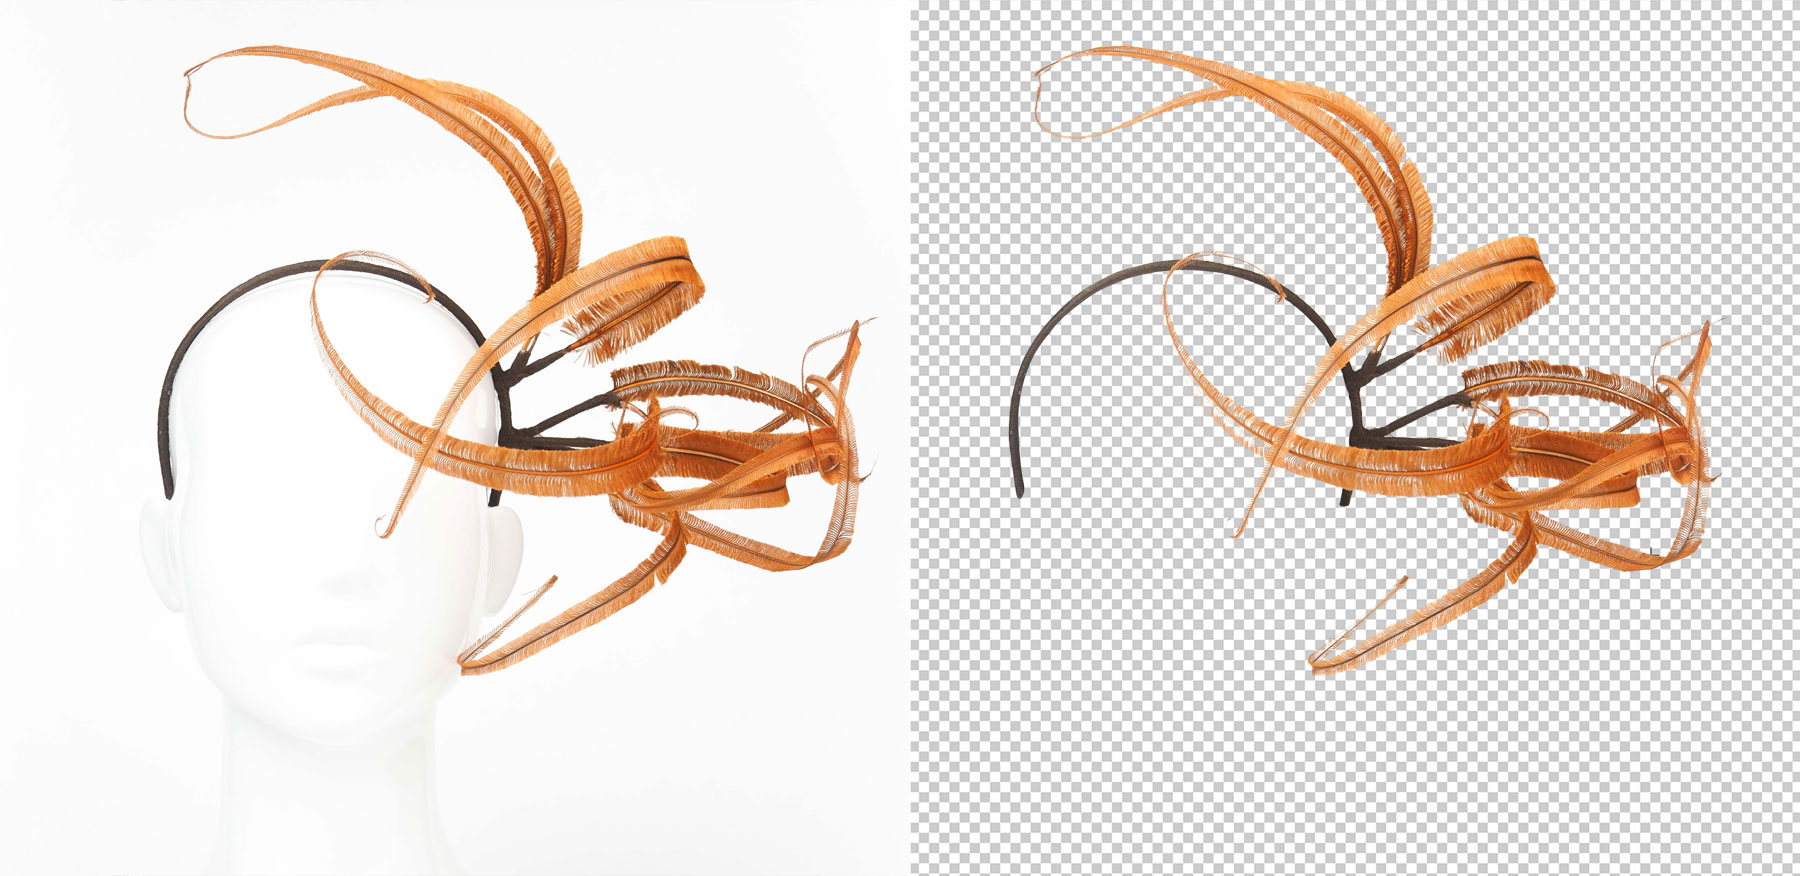
Sometimes a simple tutorial makes it easier to understand how convenient clipping mask works. Creating an artistic effect, for example, on a staid poster makes it far more attractive. Here it is explained with the use of clipping mask. It is an essential aspect of clipping path services provided by an offshore photo editing company.
A poster’s job is to attract consumers in the mall. It is also used to bring in the coffee customers. If attractive, it can be relied upon to garner votes for politicians. A poster has immense uses. Hence, its value can be further enhanced when an artistic effect is applied via Photoshop. Clipping path is the best way to improve its fascia when it is also used on the web.
Take for example an image of a steaming coffee in a mug, with the text written in handwriting font saying, ‘Steam rising towards vanilla sky, brown cocoa beans brewed on earth-the taste of heaven with… (name of the store). If this is the final image that is required, it can be done artistically.
The concept consists of a design that has a blue sky effect with the Photoshop brush. Check out the simple steps.
Step 1
Create a new document. A 1024 x 768 in RGB Color mode is fine.
Step 2
Press B to get the brushes and various strokes. After you have made the choice, select the brush as shown in this image. This is the textured effect that will be created for the picture. For example, choose the chalk 60-pixel brush.
Step 3
Now press F5 to get some more pre-existing options. Several brush tips like shapes, scattering dual brushes, wet, airbrush (we are not using this, it is very common), smoothing texture, protecting texture etc. For best results on this picture let us use dual brush option. It is called Dry Brush Tip Light Flow.
Step 4
Once the Dry Brush Tip Light Flow is selected enlarge it. Press key ] to get the desired effect. Increase it till it reaches pixel 150.
Step 5
Take the poster that needs to be designed. It has to be downloaded on the Photoshop document.
Step 6
The photo can be placed on the layer of the brush stroke. It is elaborated in the next step. The poster has to be resized for the document.
Step 7
Creating the clipping Mask. It can be done in 3 different ways.
-
Go to layer/create clipping mask
-
Right click photo layer/clipping mask
-
Alt + Ctrl + G/ clipping mask
Move the image to adjust it on the brush stroke. Once the image is placed, put the required copy (text) where it is needed. Use the Illustrator Brush Strokes instead of Photoshop. Perhaps this will create the right effect and also the magic to this riveting poster. The final poster can be used in the store or also on its website.
Creation Time:
Design Time:
Total Output duration:
Apart from this digitally designed poster choose other post processing services with an efficient offshore company renowned for its post photo services called clipping path arts. It is located in Dhaka, Bangladesh.


