Unlocking the Power of Multiple Clipping Path: A Beginner’s Guide to Expert Image Editing

Multiple Clipping Path is one of the important Photo Editing Services used for selecting the specific parts of a product or object. In the Photo Editing world, Multiple Clipping Path Service is necessary to draw a precise separation that allows an accurate color change or doing retouch to the separated areas of an object. There are certain steps to accomplish Multi-Path in Adobe Photoshop. Let’s dig deep chronologically:
Step One:
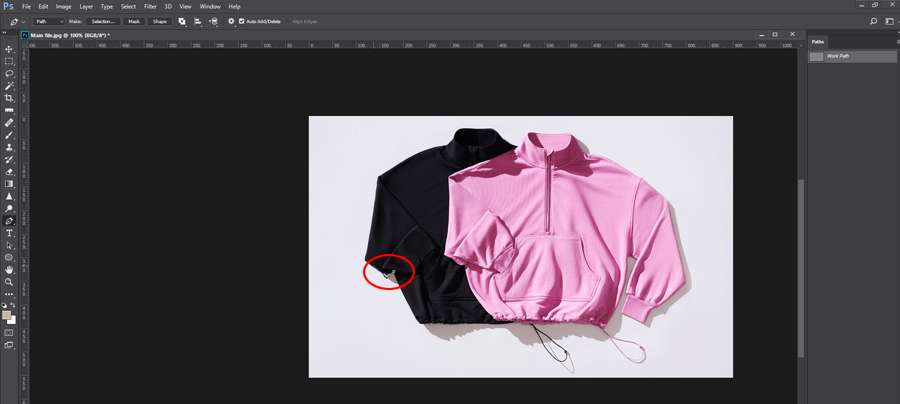
The first step of open an image in Adobe Photoshop. The below demonstration file will show how to open an image in Photoshop:

Step two:
The second step is to explore the PC’s drive and select the photo which one needs Multiple Clipping Path treatment. For example, you can check out the attached file:

Step Three:
The next & most vital step is to select the Pen-Tool for drawing handmade clipping path. The below attachment will show how to pick it up from so many options. Here you go:

Step Four:
This step will show how to start clipping path using pen-tool. There is no specific rule for the starting path as far as the outline path is concerned. It is better to start from any sharp angle. You can check out the file for a better understanding:

Step Five:
Once you start creating a path, it is mandatory to save that path as far as multiple clipping path is concerned. The below demonstration will show how to save or rename a path for a specific purpose.

Step Six:
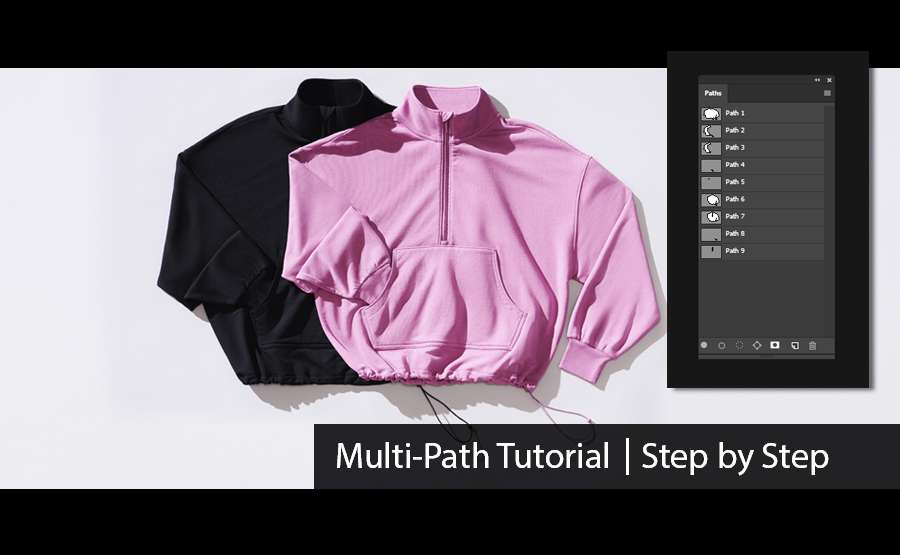
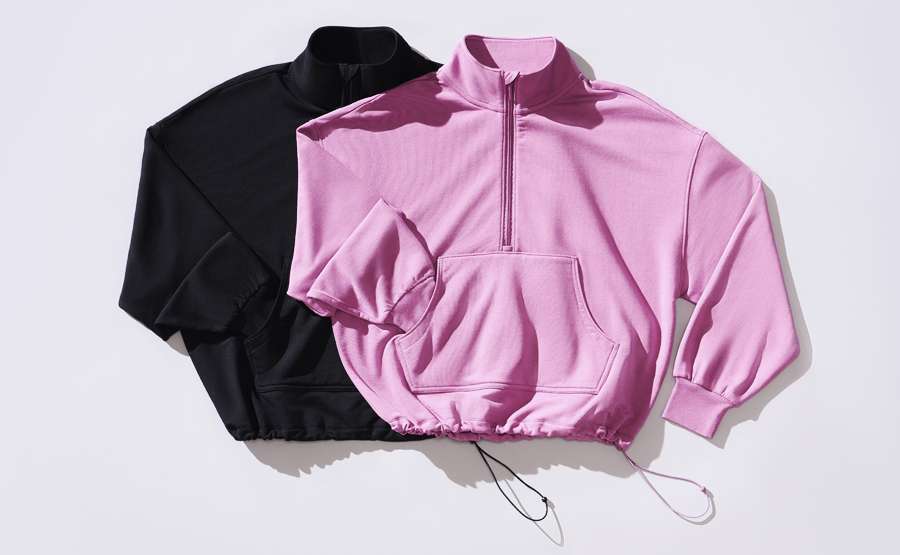
Doing an all-over path first is the best tip when accomplishing Multiple Clipping Path Services. In the attached file, there are 2 garment products, one is black and another is pink. A single outline path has been drawn around both the products. To know more, check out how the first or all-over clipping path has been executed:

Step Seven:
The next step is to do an all-over path for any single product out of 2. In the demonstration file, a black jacket has been clipped separately. To understand it properly, you can check out the file:

Step Eight:
This step is the selection of the entire black jacket without the ribbon. Please check out the attachment closely for a better understanding:

Step Nine:
The next step is creating a separate path for the ribbon of the black jacket. The goal for this path is to change the color of the existing ribbon if needed. Let’s have a look how to make the separation with the help of pen-tool.

Step Ten:
This step will show how to make another separate path for the chain of the black jacket. Sometimes the customer wants a distinct path for the chain as well for doing any color correction or retouching of the metal. Let’s see how it works:

Once every possible/similar part of the black jacket has been clipped separately, now it is the turn for the other pink jacket of the same image following the same procedures chronologically that we did for the black jacket.
Certainly! Here’s a deeper dive into some unique aspects of multiple clipping paths and their applications:
-
Advanced Image Compositing
Multiple clipping paths enable advanced image compositing, where different parts of an image are merged into complex compositions. This is often used in high-end advertising and creative projects where various elements from different images need to be seamlessly combined.
- Customizable Product Displays
In e-commerce, particularly with fashion or customizable products, multiple clipping paths allow for showcasing products in various configurations. For example, a garment could be shown with different patterns, colors, or accessories, all while keeping the base image intact.
- Interactive Media
For interactive media, such as web designs or apps, multiple clipping paths can help in creating dynamic content where different layers respond to user interactions. For example, an image of a product could change its appearance based on user actions, like hovering or clicking.
- Detailed Retouching
In high-resolution or highly detailed images, such as those used in professional portrait photography or intricate artworks, multiple clipping path facilitate meticulous retouching. This includes tasks like fine-tuning skin tones, adjusting the brightness of individual elements, or enhancing textures.
- Print Production Versatility
For print production, especially in packaging design or multi-panel brochures, multiple clipping paths ensure that different parts of a design are correctly aligned and printed. This can include ensuring that different elements are placed on separate plates in offset printing processes.
- Creative Lighting Effects
Designers can use multiple clipping paths to apply different lighting effects to various parts of an image. This technique is especially useful in product photography to highlight specific features or create a more dramatic presentation.
- Layered Animation
In animations or motion graphics, multiple clipping paths can be used to create complex layered animations where different parts of an image move independently. This technique can bring a static image to life by animating individual elements separately.
- Cross-Media Adaptability
For projects that will be used across various media, such as print, web, and social media, multiple clipping paths help ensure that images adapt seamlessly to different formats and dimensions while preserving key elements.
- Historical Restoration
In historical photo restoration, multiple clipping paths can be used to isolate and restore different parts of a damaged image separately. This method allows for more precise corrections and preservation of original details.
- Augmented Reality (AR)
In AR applications, multiple clipping paths can help create realistic and interactive 3D models by allowing different elements of an image to be isolated and manipulated separately in virtual environments.
By leveraging the capabilities of multiple clipping paths, designers, and editors can push the boundaries of creativity and precision, enhancing both the visual appeal and functional adaptability of their projects.


